In this article we will look at basic setup instructions
by:Purewell
2020-06-12
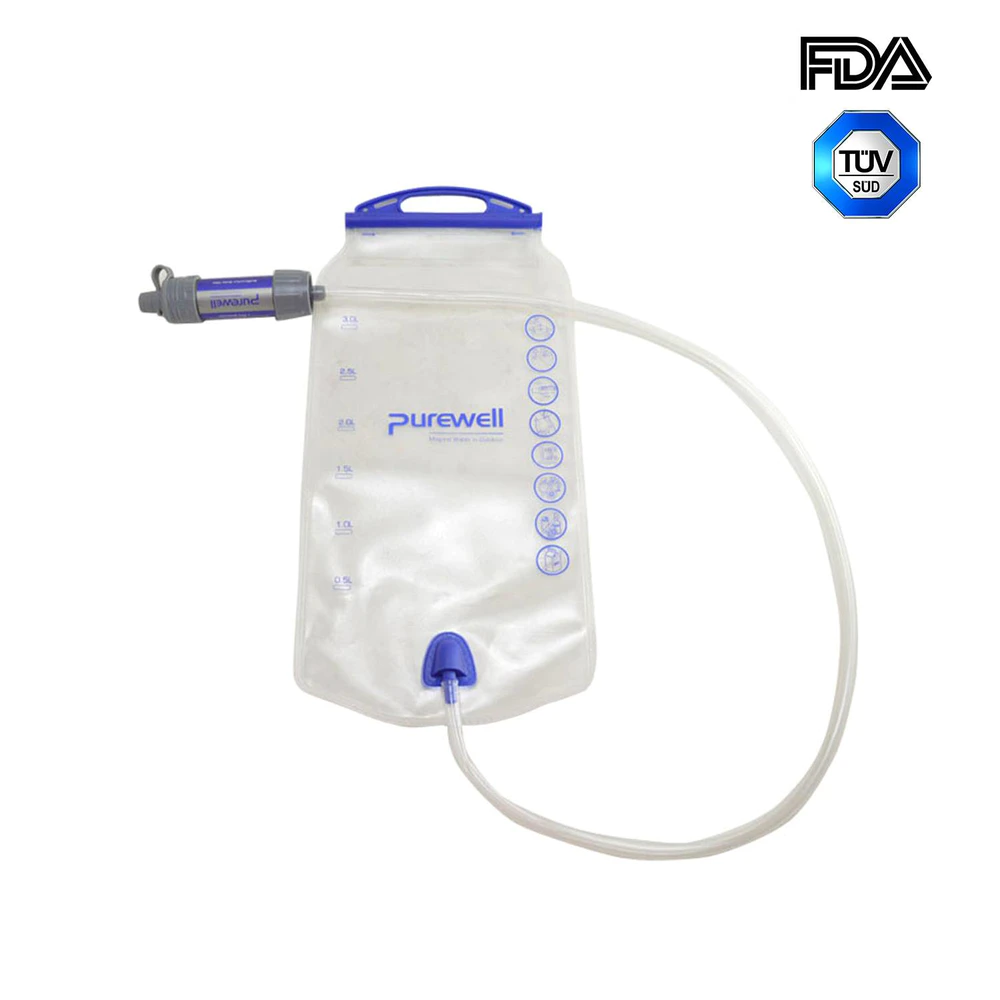
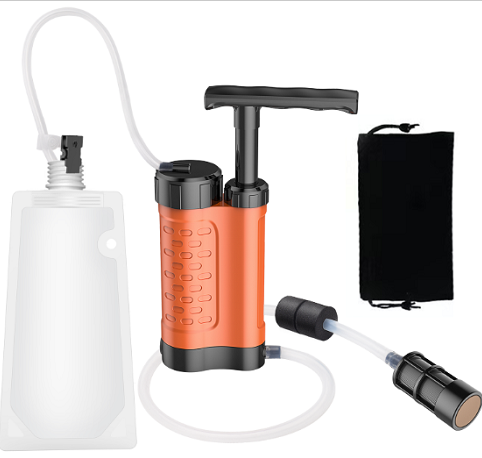
First let's look at some of the equipment included with your filter. In the package you should find hosing, the pump itself, the canister lid with instant prime handle, one aqua stop valve, the output nozzle, the intake assembly, two rim connectors, and four suction cups.
Your first step is to consider your filter placement and the placement of the rim connectors. The filter should not be more than 4.5 feet below the water level. Also, hosing should follow a straight path with some slack, but no kinks or loops. To achieve this place one rim connector on the rim of the aquarium directly above where your filter will sit. Place the other rim connector slightly farther away to the left of the filter. Suction cups can be used to secure the rim connectors in place.
To begin connecting hoses, attach the AquaStop Valve to your filter and place your filter in its final position. In this position the intake connector should be on the right side of the valve. Insert one end of the hosing into the intake connector, secure it with the locknut, and stretch the hose over the first rim connector that was placed directly above the filter. Measure the hose about 4 inches past the rim of the aquarium and cut the hose there. Insert the intake assembly to into the cut end of the hose and place this inside the aquarium. The connection point should be underwater and the intake assembly should rest about 3 inches above the gravel. If your aquarium is shallow or the tube is too long, you may cut the tube with a hacksaw. Finally, use a suction cup to hold the tube and intake assembly to the side of your aquarium.
Connecting the output nozzle and hose is very similar to connecting the intake. Push the factory cut end of the hose into the aqua stop valve and secure it with the locknut. Again, stretch the hose to the second rim connector and measure about 4 inches past the rim, where you will make another cut. Push the cut end into the output nozzle tube and make sure this connection is also underwater. The output nozzle should be about 3 inches below the water line.
Now we can begin to prepare the filter itself. First, open the canister with the lift lock fasteners, slide out the foam screen frame, and lift out of the media baskets. Be sure to keep the media baskets in order because they are prepackaged for optimum filtration. Take the foam and media baskets to a sink and rinse them with Water. This will help remove any dust that has accumulated. Replace the media and the baskets and be sure to leave about 1/2 inch space on top of each basket to leave room for baskets to fit together. Re-stacked the baskets, place the cover on top, and replace the baskets into the filter. Finally, slide the foam screen frame back into the filter flat and first.
Before you place the lid on the filter be sure to fit the gasket around the base of the lid and place the impeller cover over the impeller, which should click into place. Once this is done, you can put the lid onto the canister and put the filter in its final
position. Now you should connect the AquaStop Valve and open the valve.
Since the Fluval 405 filter comes with an instant prime handle, there is no need to fill the filter with water. Once the filter is in place in the AquaStop Valve is open begin siphoning water into the filter by pumping the instant prime handle. Continue pumping until no more bubbles show in the aquarium.
Your filter is now ready to be plugged in. Once plugged in they should run smoothly and should require no additional steps. This process should take between 30 and 45 minutes to complete.
Custom message